How to Plan Garage Lighting on a Budget: The Definitive Guide
How to plan garage lighting on a budget the transformation of a garage from a cluttered storage annex into a functional workshop, home gym, or high-utility zone hinges almost entirely on the quality of its illumination. Most residential garages are outfitted with a single, lonely porcelain light socket, perhaps housing a 60-watt bulb that casts long, distorting shadows. Correcting this deficiency is rarely a matter of simply buying more bulbs; it requires a systemic understanding of how light interacts with rough-hewn surfaces, reflective concrete, and the specific ergonomic needs of the occupants.
Planning an overhaul of these systems involves balancing the rigid constraints of existing electrical infrastructure with the desire for high-performance output. A budget-conscious approach does not necessarily mean “cheap” materials; rather, it suggests a strategic allocation of funds where every lumen serves a specific purpose. When one seeks to understand how to plan garage lighting on a budget, the focus must shift from aesthetic fixtures to the raw physics of light distribution and the long-term efficiency of the hardware.
This analysis serves as a comprehensive guide for those navigating the intersection of electrical safety, photometric requirements, and fiscal restraint. It moves beyond the surface-level advice of “switching to LEDs” to explore the architectural and technical nuances that determine whether a garage is merely “lit” or truly functional. By examining the interplay of color temperature, CRI (Color Rendering Index), and mounting geometry, we can develop a framework for lighting that scales with the user’s needs.
How to plan garage lighting on a budget
To address the core objective, one must first dismantle the idea that lighting is a singular commodity. It is, instead, a composite of intensity, directionality, and quality. A budget-driven plan fails when it prioritizes quantity over placement. If a user installs six high-output shop lights in a line down the center of a two-car garage, they have spent money to create a blinding glare in the center while leaving the workbenches—where the actual tasks occur—in deep shadow.
Understanding how to plan garage lighting on a budget requires a “bottom-up” assessment of the space. This begins with identifying the primary work zones. In a budget-restricted environment, the goal is “zonal adequacy.” You do not need the entire 400-square-foot floor to be bright enough for surgery; you need the workbench at 100 foot-candles, the vehicle maintenance area at 50, and the general storage aisles at a mere 10 to 15. This tiered approach allows for a reduction in total fixture count and energy consumption without sacrificing utility.
Another misunderstanding involves the “lumens per dollar” trap. High-lumen, low-cost integrated LED fixtures often flood the market, but they frequently suffer from poor thermal management. In a garage environment, where temperatures can fluctuate wildly, a cheap driver (the component that powers the LED) is the first point of failure. A budget plan that requires replacing the entire fixture every two years is, in fact, an expensive plan. True budget planning prioritizes fixtures with replaceable components or reputable thermal engineering.
Deep Contextual Background: The Evolution of Workspace Light
How to plan garage lighting on a budget historically, garage lighting followed the path of least resistance. In the mid-20th century, the standard was the incandescent bulb. These were inexpensive to purchase but converts only about 5% of their energy into visible light, with the rest lost as heat. For a garage, this meant a dim, yellowed environment that was structurally inadequate for anything more complex than parking a car.
The 1970s and 80s saw the rise of the fluorescent tube (T12 and later T8). This was the first major leap in budget-friendly garage utility. It provided a linear light source, which reduced shadows compared to point-source bulbs. However, fluorescent systems were plagued by “hum,” flickering in cold weather, and the presence of mercury, making disposal a complication.
The current era is defined by the LED (Light Emitting Diode) revolution. The cost of LED chips has plummeted over the last decade, allowing for high-efficiency lighting that reaches full brightness instantly, even in sub-zero temperatures. This shift has changed the planning calculus. We no longer ask, “Can we afford enough light?” but rather, “How do we control the abundance of light we can now afford?” The modern budget plan leverages this efficiency to use fewer circuits and smaller-gauge wiring, further driving down installation costs.
Conceptual Frameworks and Mental Models How To Plan Garage Lighting On a Budget
To plan effectively, one should employ specific mental models that help categorize needs and predict outcomes.
-
The Inverse Square Law Application: This physics principle states that the intensity of light is inversely proportional to the square of the distance from the source. In a garage with a 12-foot ceiling versus an 8-foot ceiling, the budget must account for the fact that light “dilutes” rapidly. If you cannot afford more lights, you must drop the lights closer to the work surface using chains or stems.
-
The Shadow Envelope Model: Imagine every object in the garage (cars, cabinets, the user) as a shadow generator. A single light source creates a hard envelope of darkness. By using at least two points of light for every task area, you “fill” the shadows. This is more effective than one incredibly bright light.
-
Photometric Zonation: This involves viewing the garage as a series of independent cells. Each cell has a “required lux” value. This model prevents over-lighting the corners where you only store lawnmowers, saving funds for the area where you use a table saw.
Key Categories and Variations of Lighting Hardware
When deciding how to plan garage lighting on a budget, the hardware choice dictates the labor requirement.
Decision Logic: Which to Choose?
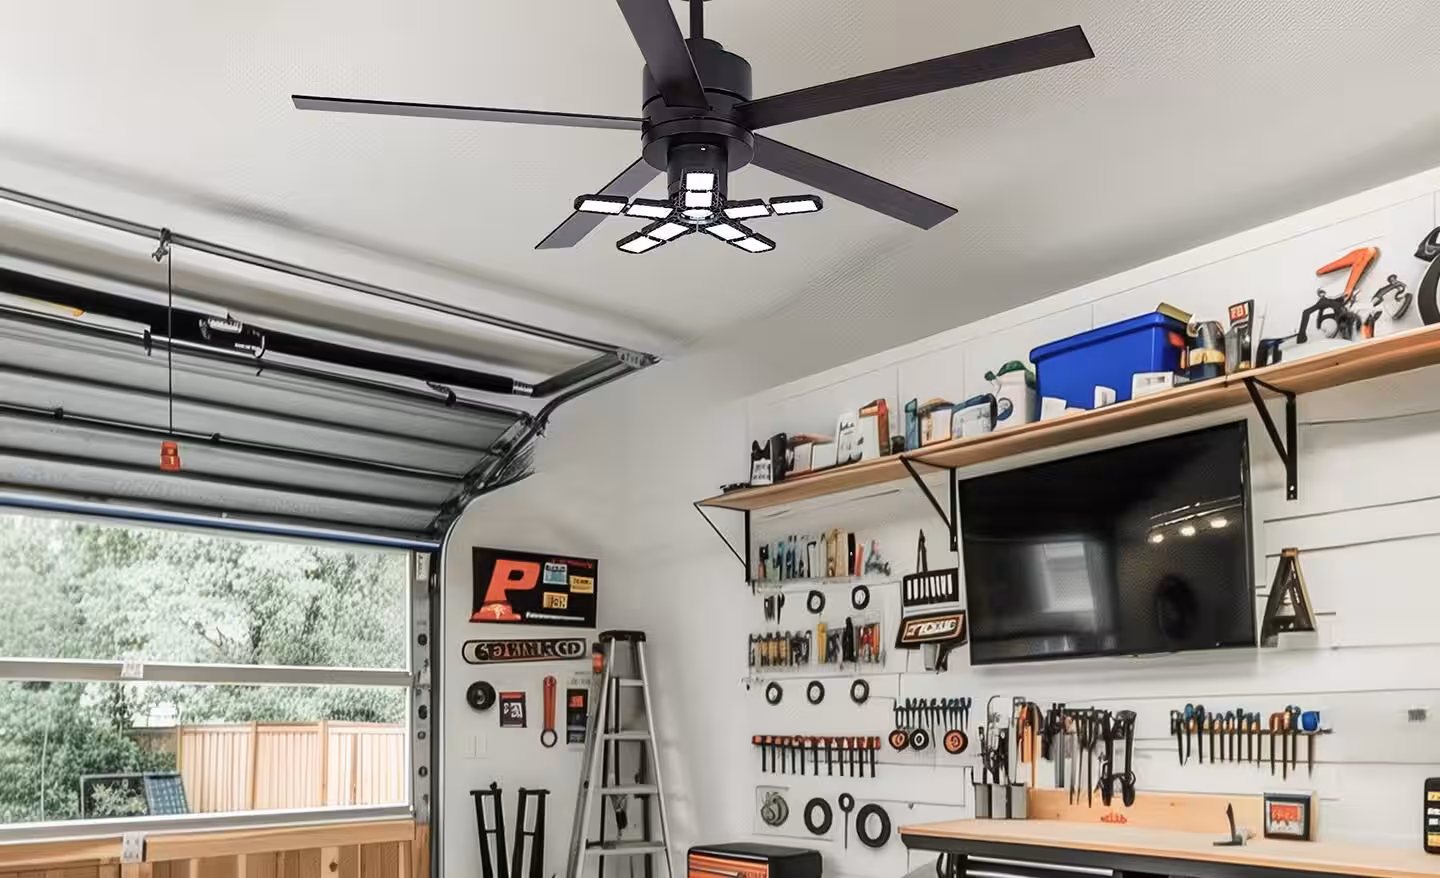
If your garage has finished drywall and a single central outlet, linkable LED strips are the winner. They allow you to “daisy chain” light across the ceiling without opening the walls. If you have an open-rafter ceiling, LED shop lights hung by chains offer the most flexibility for future adjustments.
Detailed Real-World Scenarios How To Plan Garage Lighting On a Budget
Scenario 1: The Multi-Purpose Single-Car Bay
A homeowner uses their 12×20 garage for both a vehicle and a small woodworking bench. The budget is minimal.
-
Constraint: Only one overhead outlet.
-
Solution: Use a 1-to-3 outlet adapter. Run one 4-foot LED strip directly over the workbench and two others in a “V” shape over the car hood area.
-
Failure Mode: Overloading the single outlet with non-lighting tools (like a vacuum) while the lights are on.
Scenario 2: The High-Ceiling Warehouse Style
A garage with 14-foot ceilings creates a “lost light” problem.
-
Constraint: Distance makes standard shop lights ineffective.
-
Solution: Deployment of two 150W UFO High-Bay LEDs. While the fixtures cost more individually, only two are needed to saturate the floor.
-
Second-Order Effect: The high intensity creates significant glare on glossy car paint, requiring the lights to be positioned slightly off-center from the vehicle.
Planning, Cost, and Resource Dynamics
The “budget” in “how to plan garage lighting on a budget” is often divided into hard costs (fixtures, wire, connectors) and soft costs (labor, time, energy consumption).
Direct costs are easily tracked, but the opportunity cost of poor lighting is often ignored. A user who spends three hours struggling to see a mechanical part is “paying” for that poor lighting in lost time. A budget plan should aim for a 3-to-5 year ROI on energy savings and productivity.
Tools, Strategies, and Support Systems
-
The “Dry Fit” Strategy: Before mounting fixtures permanently, use heavy-duty tape or temporary clamps to test the light spread at night. This prevents “Swiss cheese” ceilings from moving lights later.
-
Color Temperature Selection: Aim for 5000K (Daylight) for work areas and 4000K (Cool White) for general storage. Avoid 2700K (Warm White) as it makes the garage feel dingy and hides detail.
-
Reflectivity Maximization: A gallon of white ceiling paint is often the most cost-effective “lighting” upgrade. A dark, unfinished wood ceiling absorbs up to 50% of your light; a white one reflects it back down.
-
Daisy-Chaining Limits: Most budget LED strips allow 4–6 units to be linked. Exceeding this can melt the internal wiring of the first unit.
Risk Landscape and Failure Modes How To Plan Garage Lighting On a Budget
The primary risk in budget garage lighting is electrical fire caused by circuit overloading. Many older garages are on a 15-amp circuit shared with a guest bedroom or outdoor outlets. Adding 500 watts of lighting while running a miter saw can trip breakers or, worse, overheat old connections.
Another failure mode is EMI (Electromagnetic Interference). Cheap LED drivers can interfere with garage door opener frequencies. If your remote stops working after you turn on the lights, your “budget” fixtures are the culprit. This is why selecting UL-listed or ETL-listed fixtures is a non-negotiable part of the planning process.
Governance, Maintenance, and Long-Term Adaptation
A lighting plan is not a “set and forget” endeavor. Over time, LEDs suffer from lumen depreciation—they don’t burn out, they just get dimmer.
-
Annual Review: Clean the dust off the fixtures. In a garage, sawdust and spiderwebs can reduce light output by 20% in a single year.
-
Adjustment Triggers: If you move a stationary tool, the task lighting must move with it. Using chain-mounted fixtures makes this adaptation cost-zero.
-
Layered Checklist:
-
Verify all “daisy-chain” connections are tight.
-
Check for discolored plastic (sign of overheating).
-
Test motion sensor delay settings.
-
Measurement, Tracking, and Evaluation
How do you know if your plan worked?
-
Quantitative: Use a free light meter app on your smartphone. While not laboratory-grade, it provides a relative “before and after” measurement in Lux. Aim for 500 Lux on your workbench.
-
Qualitative: The “Squint Test.” If you find yourself squinting or leaning in closer than 12 inches to see your work, your lighting plan has a localized failure.
-
Documentation: Keep a small log of the fixture brand and purchase date. If a unit fails in 18 months, you have the data to avoid that brand in the future.
Common Misconceptions and Technical Myths How To Plan Garage Lighting On a Budget
-
Myth: “More Lumens is always better.” Reality: Too many lumens in a small space creates “bounce-back” glare that causes eye fatigue.
-
Myth: “LEDs last forever.” Reality: The LED might last 50,000 hours, but the cheap capacitor in the driver might only last 2,000.
-
Myth: “You need a professional electrician for everything.” Reality: Using “plug-in” shop lights is perfectly code-compliant and safe for DIYers, provided you don’t use indoor-only extension cords.
Conclusion
Mastering how to plan garage lighting on a budget is an exercise in intentionality. It requires moving away from the “more is better” philosophy and toward a “where is it needed” strategy. By understanding the physics of the space, the limitations of the hardware, and the specific needs of the tasks performed, one can create a professional-grade environment without a professional-grade price tag. The most successful lighting plans are those that remain flexible, allowing the user to adapt their illumination as their hobbies and needs evolve over the years.